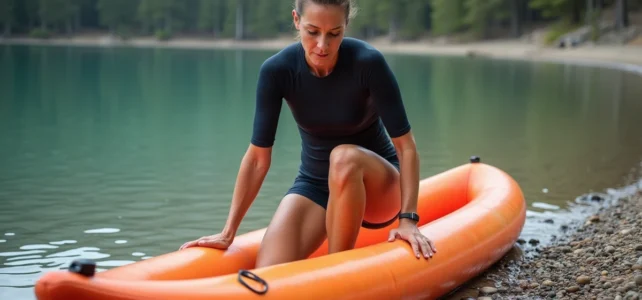
You place the inflatable kayak at the water’s edge, inflate it, and store the pump. And then, at the moment of boarding, the tube rolls under your foot, the craft slips, and you end up sitting in twenty centimeters of water. Getting into an inflatable kayak is not like getting into a rigid kayak: the floor is soft, the side tubes move, and the center of gravity shifts with every support.
Mastering this step changes the entire outing. A failed boarding means a soaked life jacket, a drifting paddle, and sometimes a twisted ankle on a rocky bottom. However, a few simple gestures are enough to make the operation smooth, even for a beginner.
Inflation Pressure and Kayak Stability Before Boarding
Most guides talk about boarding technique without mentioning what happens beforehand: inflation. An under-inflated kayak deforms as soon as you step into it. The floor sinks, the side tubes spread apart, and the seat becomes soft enough to make the ascent unstable.
Each manufacturer indicates a recommended pressure on the manual or directly on the valve. Follow it. A built-in gauge on the pump or a small external gauge allows you to check the exact value. Inflating “by feel” works when you have experience, but beginners almost systematically under-inflate.
The order of inflation also matters. Start with the floor (or keel, depending on the model), then the side tubes, and finally the seat. By doing this, the bottom gains its rigidity first and provides a firm base for the subsequent chambers. If you inflate the tubes before the floor, the bottom remains floppy and the kayak folds in half under your weight when boarding.
A detailed guide explains how to get into an inflatable kayak while considering these inflation parameters, a step often overlooked in standard tutorials.
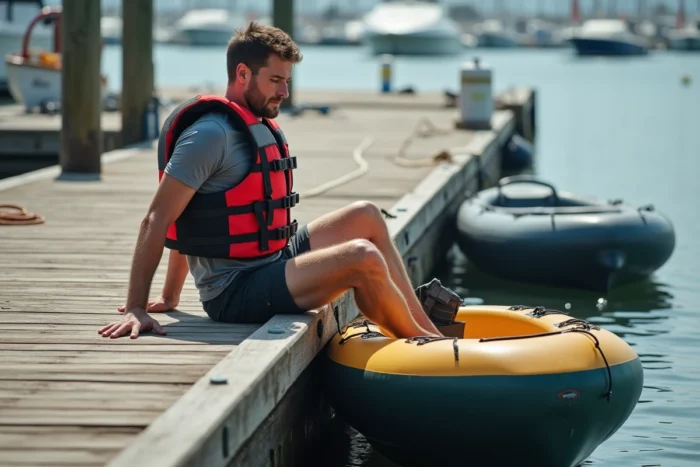
Getting into an Inflatable Kayak from a Shore or Beach
You may have noticed that experienced kayakers never board in deep water when they can avoid it? They choose a spot where the bottom is stable and the water reaches between the ankle and knee. This choice of terrain simplifies everything.
Positioning the Kayak Half in the Water
Place the kayak perpendicular to the shore, the stern (back) still on the sand or pebbles, the bow (front) floating slightly. This position prevents the craft from drifting while you board. If the bottom is muddy, slightly sink the stern to create a natural anchor.
Getting In with Three Supports
Here’s the sequence that works on an inflatable:
- Lay the paddle across the cockpit, perpendicular to the kayak, one blade resting on the bottom or the shore. It serves as a lateral stabilizer during the ascent.
- Grab the nearest tube with one hand and the paddle with the other. Keep your weight centered between the two tubes, never on one side.
- First, sit on the rear tube, then slide your butt towards the seat while bringing your legs one at a time inside the kayak.
This method avoids the reflex action of stepping over the tube while standing, which creates immediate imbalance on an inflatable. The tube does not have the rigidity of a plastic gunnel: it rolls underfoot.
Getting Back into an Inflatable Kayak After Capsizing in Deep Water
This is the situation everyone dreads, and for which experiences shared on inflatable kayak forums are most telling. When you can’t touch the bottom, the technique differs radically from boarding from the shore.
Why the Side Re-entry Doesn’t Work
On a rigid kayak, you hoist yourself up from the side by leaning on the gunnel. On an inflatable, grabbing the side tube causes the kayak to tip towards you. The weight of the opposite tube, filled with air, acts as an insufficient counterweight. The result: the kayak flips over onto you.
Approaching from the Back
The most reliable technique is to approach from the stern. Place both hands on the back of the kayak, arms extended. Kick your feet to propel yourself upwards while pulling your torso onto the rear deck. Once your belly is on the back part, crawl towards the seat while keeping your body centered.
This maneuver requires a minimum of arm strength. Wear a buoyancy aid to reduce the effort of propulsion: it keeps you higher in the water and decreases the distance to reach the deck.
Regulations and Safety Related to the Inflatable Kayak Navigation Area
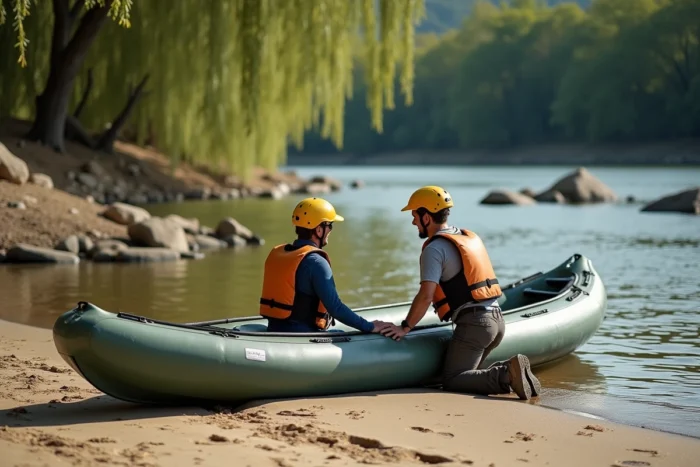
The way you prepare to board also depends on where you paddle. An inflatable kayak that stays within 300 m of a shelter (beach, dock, accessible shore) has different obligations than a kayak that ventures beyond.
Beyond this 300 m limit, the kayak must be approved division 240, registered, and equipped with complete safety gear: life jacket, light source, VHF, among others. Most recreational inflatable kayaks are designed to stay below this threshold, in calm water.
This constraint has a direct impact on boarding. In calm water near a shore, a failed boarding can be easily corrected: you can touch the bottom, the current is weak. In coastal navigation beyond 300 m, a capsize followed by a failed re-entry can become an emergency situation, especially in cold water.
- In calm lakes or rivers, prefer boarding from the shore using the three-support technique described above.
- If you plan to go out to sea, practice re-entry from the back in controlled conditions (pool, supervised water body).
- Always check that your buoyancy aid is on and adjusted before getting into the kayak, not after.
A well-inflated inflatable kayak, boarded methodically and used within its intended navigation area, offers sufficient stability for regular outings. The point of fragility is almost never the equipment: it’s the rush at the moment of boarding. Take thirty extra seconds to check the pressure, position the kayak, and place your supports. These thirty seconds change the rest of the outing.